Reusing Your Real Instrument Recordings
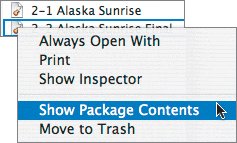
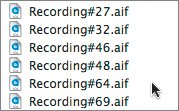
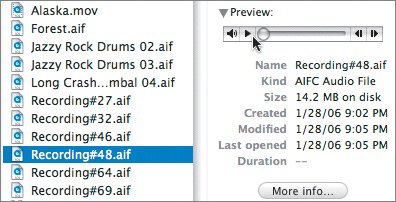
| Have you ever wondered how Real Instrument recordings are stored on your computer? GarageBand stores all of the Real Instrument recordings in a Media folder inside of your project. Understanding how your Real Instrument recordings are stored will enable you to find the recording files and reuse them in other projects. In this exercise, you'll locate the Real Instrument recordings for the project Alaska Sunrise. Let's start by quitting GarageBand.
Now you know how to locate and reuse recordings from one song to another. Archiving Your RecordingsYou can archive your recordings by saving all of your best takes in one project. You'll then have your best recordings available to reuse for new projects. The specific steps for archiving are simple. When you first record a project, save all of the best takes to that project and add the word "recordings" to the name of the projectfor example, Alaska Sunrise Recordings. Save this version of the song, then choose File > Save As, and save the song again with just the song name (Alaska Sunrise). For this version, you'll delete everything except the takes you want to use for the actual song. Resave the song when you finish deleting the unwanted recordings. The result will be two versions of your songone version with all of the best recordings archived, and the other with just the best takes you actually use in the finished song. After the song is completed, you can always delete the recordings version of the song if you want to clear some disk space and don't think you'll ever need the other takes again. Archiving Your ProjectsAs I mentioned earlier, in GarageBand you can archive an entire song and all of its contents. Normally when you save a song, the project file references the movies, loops, and Software Instruments you have stored on your computer. But what if you want to take that song to a different computer that doesn't have all of the same loops and media? Perhaps you are using loops from one of the Jam Packs, or you recorded and saved your own loops. Whatever the situation, you now have the option to save a song and all of its regions to the project file's package contents. Then, when you open the archived song on a different computer, it contains all the regions needed to play and edit the project. To save your project as an archive, choose File > Save As, then select the Save As Archive option in the Save As window. Note Saving a song as an archive greatly increases the size of the song file because it contains media for all of the regions in the song, not just Real Instrument recordings and references to loops and Software Instruments on the computer. That's itthe end of the Real Instrument lesson, and the beginning of your recording careers! You now have a solid working knowledge of recording, saving, editing, and archiving your recordings. Now that you can record and arrange your original music, the next lesson will show you how to mix your tracks to polish the overall sound. |


EAN: 2147483647
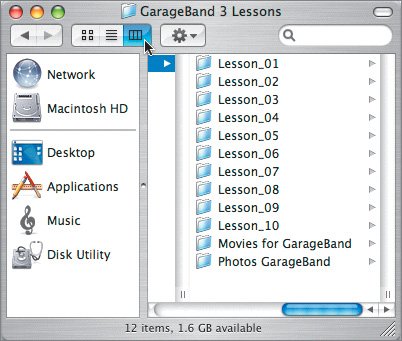
Pages: 134