| Now you'll pull the project elements together in a master composition. You'll animate a new slogan with the Raining Characters Out preset and use the resulting animation as a faint background: 1. | Create a comp named Master Comp, using the NTSC D1 Square Pix, 720x540 preset, with Duration 15;00 seconds.
| 2. | Select the Horizontal Type tool, and set the following in the Character and Paragraph palettes:
Font Family: Arial Black Font Size: 24px Alignment: Center Text
| 3. | At time 0;00, create a new layer in the middle of the Composition window by choosing Layer > New > Text. Type MANAGE THE FUTURE on one line, press Enter or Return on your keyboard, and type OF YOUR BUSINESS on the next line.
The new text slogan 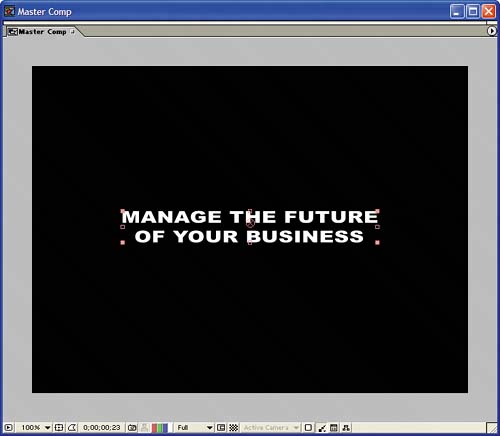 | 4. | Still at time 0;00, apply Animation > Apply Animation Preset >Text > Animate Out > Raining Characters Out to the text layer.
Note When you choose Animation > Apply Animation Preset, After Effects should open the Presets folder. If it doesn't, you can locate that folder by navigating to the After Effects application folder > Support Files > Presets > Text. | 5. | Go to time 0;00, and add a Scale keyframe of 1000, 1000% and a 0% Opacity keyframe to the text layer.
| 6. | Go to time 1;00, and change Scale to 100, 100% and Opacity to 100%.
These keyframes are timed to fade in the slogan just as the Text Stack Comp animation starts to rain in the letters in the text From Dreams to Ideas to Business Solutions.
| 7. | At time 4;00, press Alt + ] (Windows) or Option + ] (Mac OS) to trim the layer's Out point.
| 8. | Go to time 0;00, and add the Text Stack Comp from the Project window to the Timeline.
| 9. | Go to time 7;00, and add the Text Stack Comp to the Master Comp Timeline againbut below the MANAGE THE FUTURE text layer. Now the Timeline has a Text Stack Comp starting at time 0;00 and another copy starting at time 7;00.
| 10. | Set the Opacity of the bottom Text Stack Comp (located at time 7;00) to 30%, and don't add a keyframe.
The Master Comp Timeline  At time 0;07, the slogan MANAGE THE FUTURE fades in. 
At time 1;14, the MANAGE… text rains out of the scene as the other text rains in. 
|
Raining in the next slogan You'll add another slogan to the project and animate it by using the Raining Characters In preset again. (Presets don't do all the necessary work for you, but they're mighty handy, aren't they?) Even though you used the same preset for the wall of text that you created in an earlier section, the results will look unique after you scale the text and assemble the sequences: 1. | Select the Horizontal Type tool, and make sure the properties in the Character and Paragraph palettes are still set as follows:
Text Size: 24px Font Family: Arial Black Alignment: Center Text
| 2. | Go to time 6;00, and choose Layer > New > Text to create a text layer in the middle of the Composition window. Type TURNING IDEAS on one line and INTO SUCCESS on the next.
The TURNING… text layer at time 6;00 
| 3. | With the new text layer selected, choose Animation > Recent Animation Presets > Raining Characters In.
| 4. | Add a Scale keyframe of 40, 40% at time 6;00, and change the Scale to 100, 100% at time 8;00.
| 5. | With the TURNING… text layer selected, press U on your keyboard to reveal the layer's keyframes. Move the layer's Offset keyframe at time 7;00 to time 6;00 and its Offset keyframe at time 9;15 to time 8;00.
Tip Press Shift as you drag a keyframe to snap it to a particular point in time. | 6. | Move the TURNING… layer in the Timeline's layer stack so it's layer 2. Now the TURNING… layer comes in beneath the text in the topmost Text Stack Comp as the composition's text fades out.
The Master Comp Timeline  The white text of the TURNING… layer begins to appear at time 7;00 behind the blue text. 
|
|