Image naming on a camera is somewhat limited. The default naming can be quite cryptic, and even when there are custom options, trying to name an image on a camera can be difficult without a keyboard. Naming files when you import them into Aperture is an effective way to differentiate them.
1. | Click the Version Name pop-up menu on the right side of the Import dialog to reveal the naming options.
|
| |
2. | Choose Edit to create a custom name.
The Naming Presets dialog opens, showing a number of presets that ship with Aperture. These presets can be edited, and you can create your own.
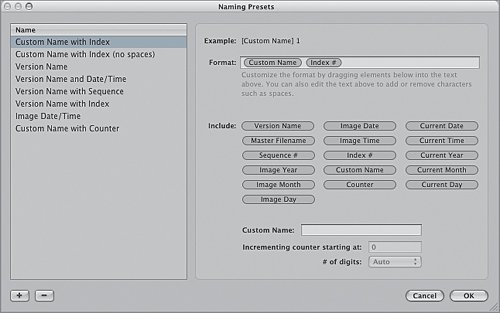 |
3. | Click in a blank area in the Name column, then click the Add (+) button in the lower left corner of the Naming Presets dialog.
A new preset named Untitled appears. Clicking in a blank area deselected all of the presets. Clicking the Add (+) button with a preset selected creates a new preset with the parameters from the selected preset.
|
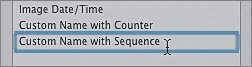
4. | In the Name list on the left side of the dialog, rename the Untitled preset Custom Name with Sequence.
 |
5. | In the Format text field, click to the right of the Version Name element and press Delete.
|
| |
6. | Drag the Custom Name element to the Format text field, insert a space, and then drag the Sequence # element to the right of Custom Name.
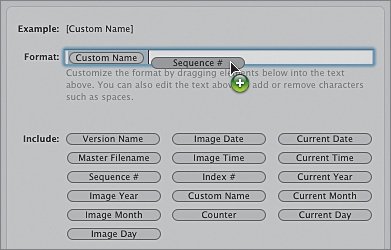 Leaving the Custom Name text field blank will require you to enter a name whenever this preset is used.
|
7. | Click OK to save the preset.
|
8. | Make sure Custom Name with Sequence is selected in the Version Name pop-up menu.
|
9. | Type Jackson Hole in the Name Text field under the Version Name pop-up menu. Leave the "Apply to Master filenames" checkbox deselected.
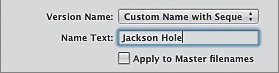 A version name will be created for each image imported The images will be named Jackson Hole 1, Jackson Hole 2, and so on. The version name is what you will be viewing in Aperture. The original master filename is untouched unless you select the "Apply to Master filenames" checkbox. The metadata is all entered, so we're ready to import the images.
|
| |
10. | Click the Import All button in the lower right corner of the Import dialog.
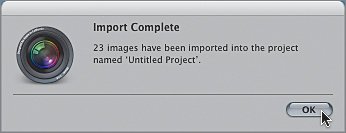
 A new, untitled project appears in the Projects panel. An icon to the left of the untitled project provides animated feedback until the import is complete. Preview images are generated in the background once the images are imported. When Aperture finishes importing the images, an Import Complete window appears.
|
11. | Click OK to close the Import Complete window.
 Note In addition to Camera RAW, you can import GIF, JPEG, JPEG2000, PNG, PSD, and TIFF files. |
12. | Rename the untitled project Jackson Hole, and then press Return.
|
| |
13. | Click the Eject symbol for jackson_hole in the Import panel. Click the Import Panel button to close the Import panel.
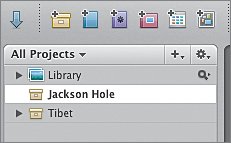 With the Jackson Hole project selected in the Projects panel, you can see your images in the Browser and Viewer of the main window.
 Congratulations! You have imported your first collection of images. Congratulations! You have imported your first collection of images.
|